Never Miss a Beat: Get a snapshot of the issues affecting the IT industry straight to your inbox.
How to Freshly install Ubuntu Linux 10.10
Not everyone wants to upgrade Ubuntu past 10.10. Here's how to do a fresh install of it.
5 Min Read

Many folks choose to remain on Ubuntu 10.0 and not upgrade to 11.04. A lot of us wait for bugs to shake out before moving to a new OS release. So if you need to freshly install Ubuntu 10.10, here's how.
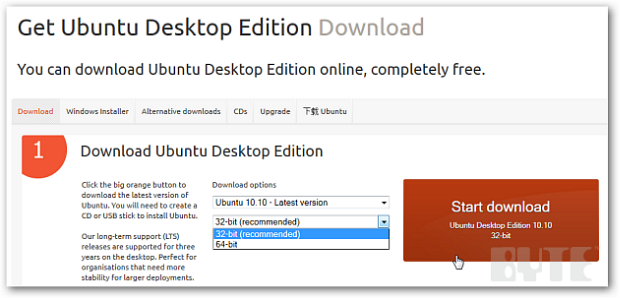
First download the 32-bit or 64-bit version of Ubuntu.
Then burn the ISO image to a CD or DVD.
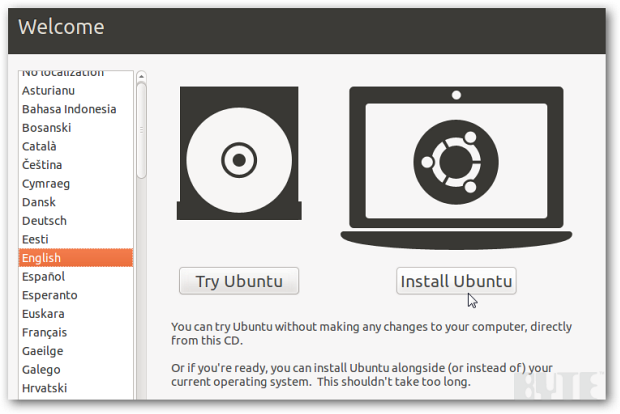
Insert the disc and boot from it. Once you reach the welcome screen, choose your language. Hit Install Ubuntu.
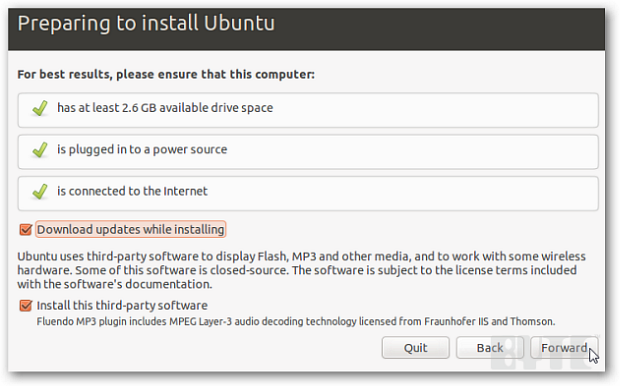
The next screen is the Preparing to Install Ubuntu screen. Here, check the Download updates option while installing. Make sure your Internet connection is up, of course.
Also, check Install This Third-Party Software. That enables the installation of such plug-ins as Adobe Flash, MP3, Java and playback support. If you're an open source purist and don’t want tech like this on your computer out of the gate, don’t check the box. When done, click Forward.
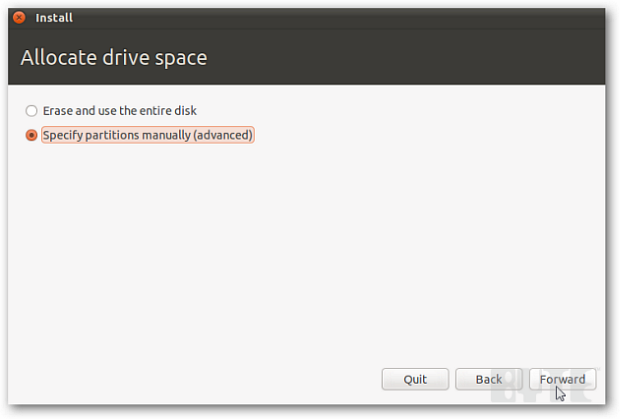
On the screen to allocate drive space, select the option: Specify Partitions Manually (advanced).
Note: You definitely want to assign unique partitions to different parts of the operating system.
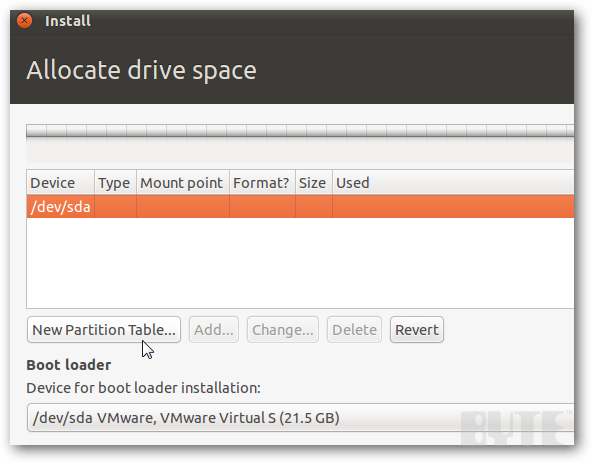
Because this is a fresh hard drive, my screen below shows one device listed. Select it and click on New Partition Table to get started with creating partitions.
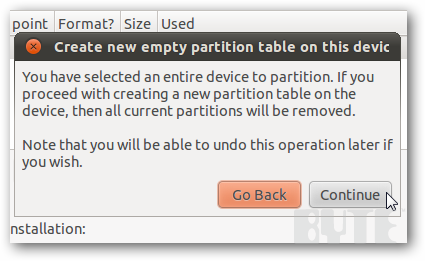
You'll receive a warning that all the current partitions will be removed. Don’t worry about it. This is a new drive. Go ahead and click Continue.
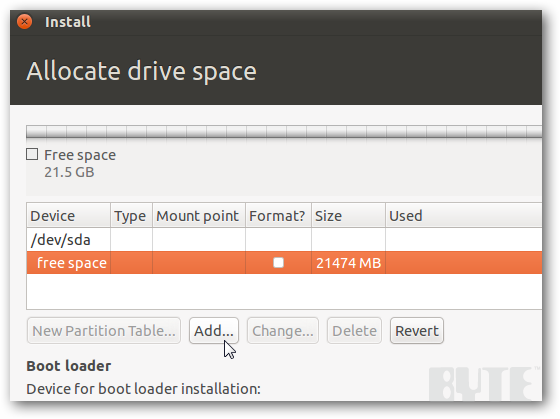
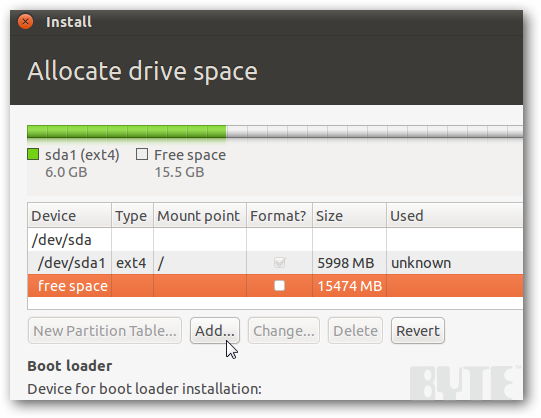
You should now see there's a nice chunk of free space available now. It's time to start creating the individual partitions.
There is a method to this madness. First create the partitions for the OS, the Swap partition and, finally, the /home partition for your personal data. Follow along now.
To begin, select the free space and click Add.
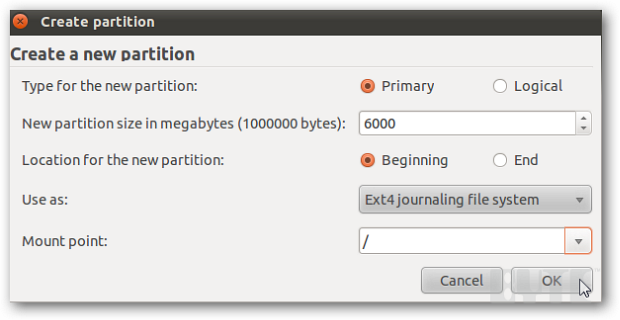
On the Create Partition screen, you need to modify a few things.
First, specify the size of the OS partition. For Ubuntu 10.10, the system recommends at least 5GB of free space for the OS alone. Because I'm dealing with a small hard drive in this example, I'll assign it 6GB. With a larger disk, be more generous.
The next thing to do is format the drive. You have a lot of choices here. I suggest Ext4 for the file system. Finally, set your Mount point to: /
Click OK.
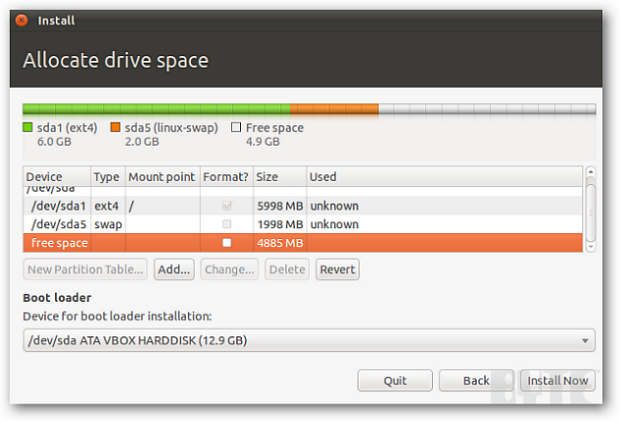
You should now see the new partition you made along with the free space remaining. Now create the swap partition. Again, select Free Space. Hit Continue.

My rule of thumb: I always make the swap partition one and a half to twice the size of the amount of RAM in the system. I have 1GB of RAM, so I'll make the swap partition 2GB. Next to the Use As option, select Swap Area. Click Add.
Now you see the swap partition. The last partition to make is the /home partition for your personal data. Select the remaining Free space. Click Add.
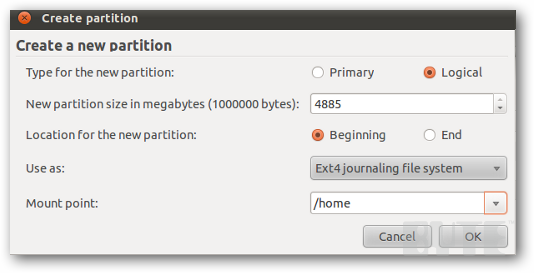
Note: Create additional partitions for things like /opt if you like.
The remaining space should automatically fill in. No need to change that. Select the same file format beside Use As as you did for your operating system partition. In this example, that means I choose Ext4 again. Under Mount point, type in: /home Click OK.
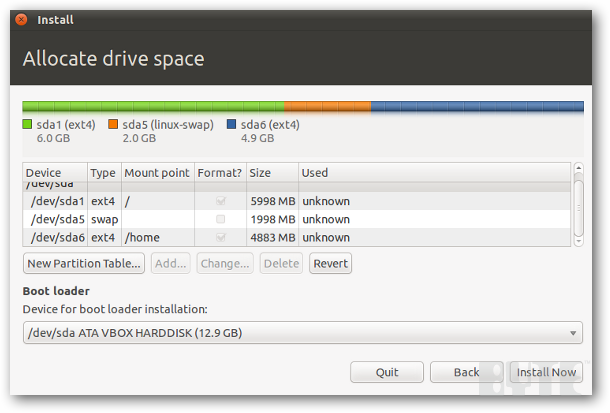
You've used up all the free space. Go ahead and click on Install Now.
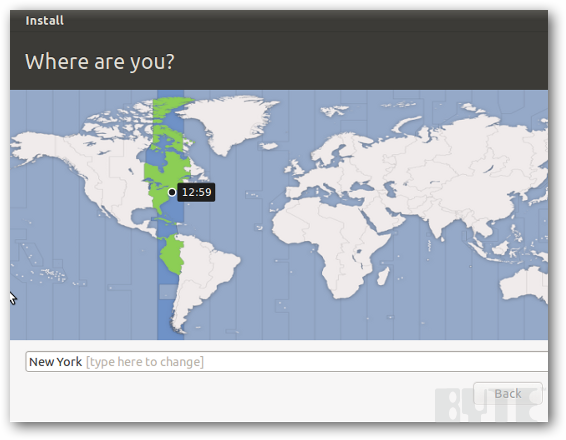
As the install proceeds, you’ll see a map and the opportunity to update your location. Do so. Hit Forward.
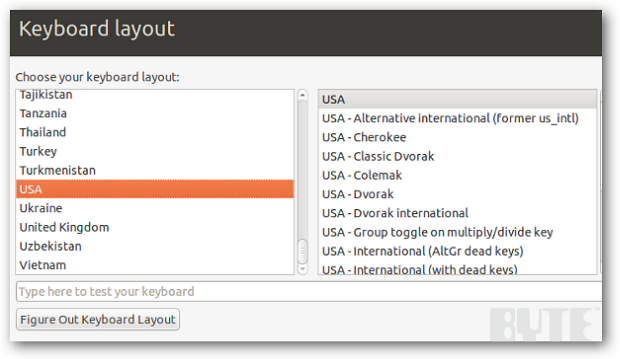
On the next screen, choose your Keyboard layout. The default will be USA, but you change it if that's incorrect. Click Forward.
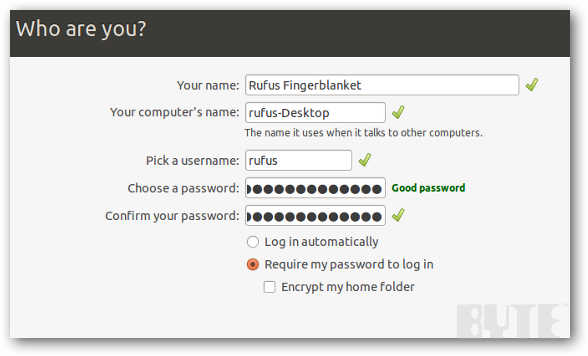
Now just fill out page asking: Who are you? This will establish your login credentials and other information. Fill out the fields. Click Forward.
At this point, the installer will go on its merry way. It will takes 20 to 30 minutes to complete, possibly more if you're on a slow connection and chose to download third party files during the process. Try to be patient.

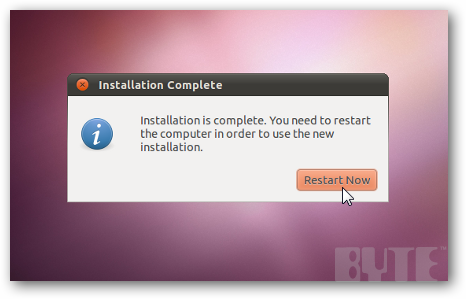
After the install process is complete, click Restart Now, and prepare yourself for some major Ubuntu goodness.
Eject your install disc and hit Enter before the restart completes.
With the restart complete, you'll finally see your login screen. Select your username, enter your password, and log into your fresh, new system.
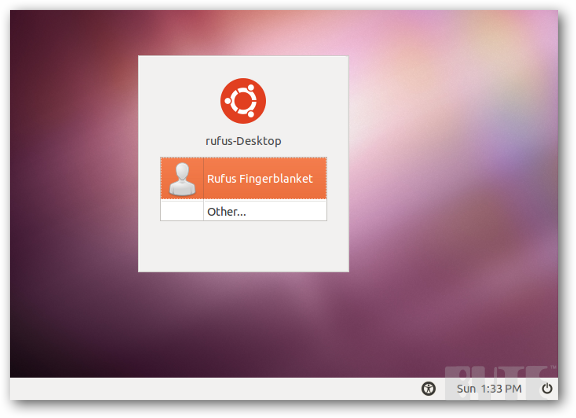
Now your fresh installation of Ubuntu is ready to go! If you want to verify the install, just create a file on your drive and repeat the install process again. This will verify that you can install Ubuntu over the top of an existing Ubuntu installation, keeping your /home directory files intact.
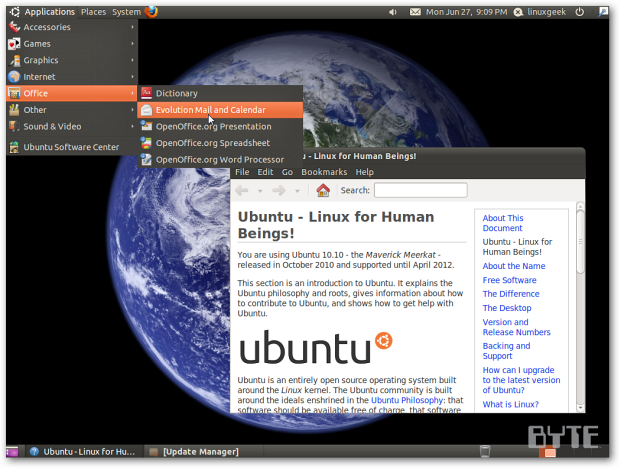
Congratulations. That wasn't so bad, was it?
Based in Columbus, OH, Eric Finkenbiner is a senior contributor at BYTE. Follow him Follow him @mybrotherischad or email him at [email protected].
About the Author(s)
You May Also Like
More Insights
Webinars
Editor's Choice


May 2, 2024
While there are plentiful options in cyber resiliency and business continuity tools and platforms, there isn’t one that can knock out everything from sudden cloud outages to prolonged ransomware attacks in a single punch. What can you do to keep the company on its feet no matter what is thrown at it? Find out in this new virtual event.
Reserve Your Seat Now