Never Miss a Beat: Get a snapshot of the issues affecting the IT industry straight to your inbox.
How To Set Up A Win 7 VM On Your Mac With Parallels Desktop
Here's the best way to get Windows 7 on your pre-Lion OS X Mac.
4 Min Read

BYTE -- Some people use BootCamp with Intel-based Macs to create a dual-boot system to run Windows. But it's tedious. You have to reboot every time you want to see the right OS. I guess that's why they call it BootCamp.
But there's an easier way to get Windows on your Mac. I've been using Parallels Desktop to run multiple operating systems in separate virtual machines (VMs) on my Mac. Here's how to set up a Windows 7 VM using Parallels Desktop 6.
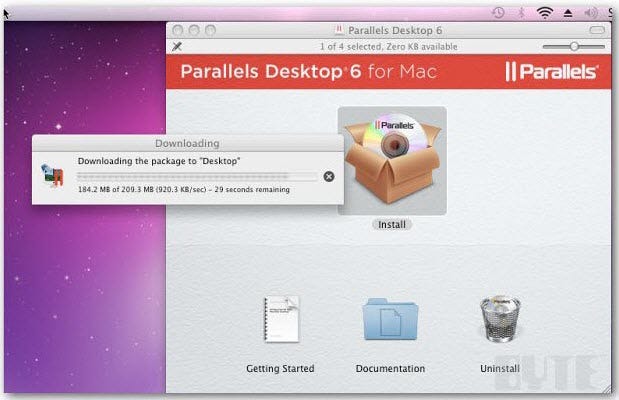
Sometimes bundled with the Mac -- likely not in OS X Lion-based Macs, which have virtualization software built-in- Parallels is available for download or on disc. Here I'm installing it from disc.
Pop the disc into the Mac and start the installation.
Navigate through the wizard and accept the defaults.
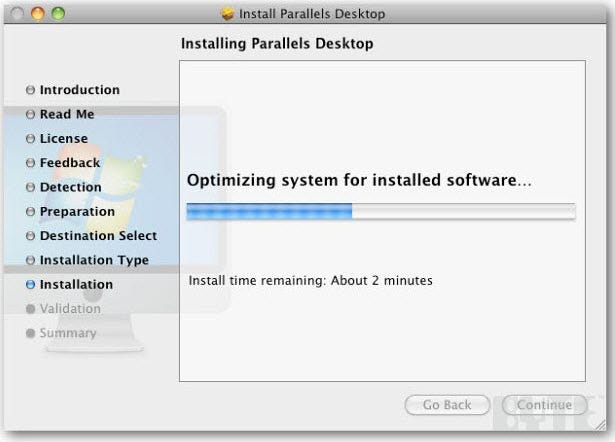
This isn't terribly simple. Expect at least 5 minutes to completion.
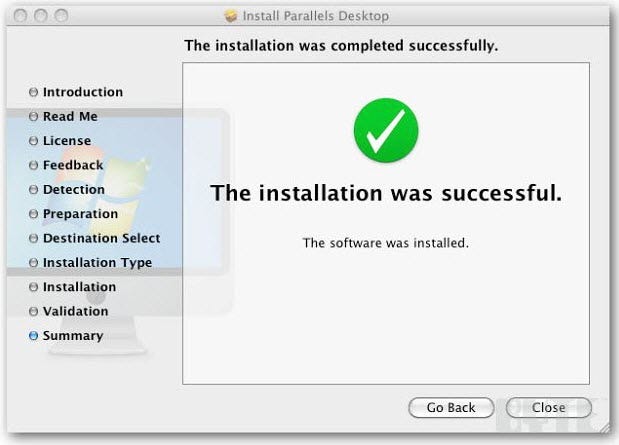
After it installs, go to the Applications folder. There you'll see the Parallels Desktop icon, click to launch it.

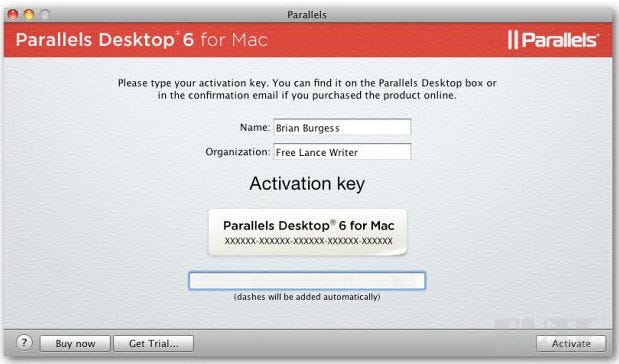
Now enter in your name, organization, and activation key. Find them in inside the disc’s cover. If you downloaded it, you'll have the key inside the original Parallels confirmation email.
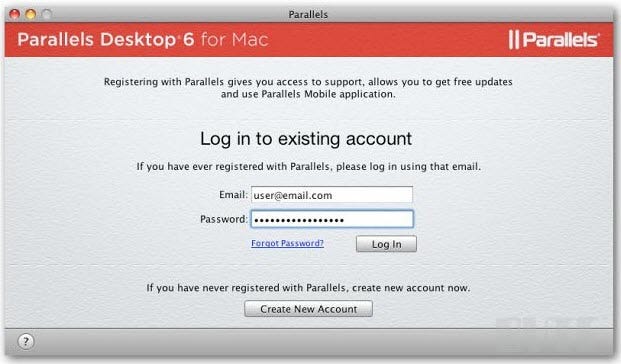
Now log into an existing account or create a new one.
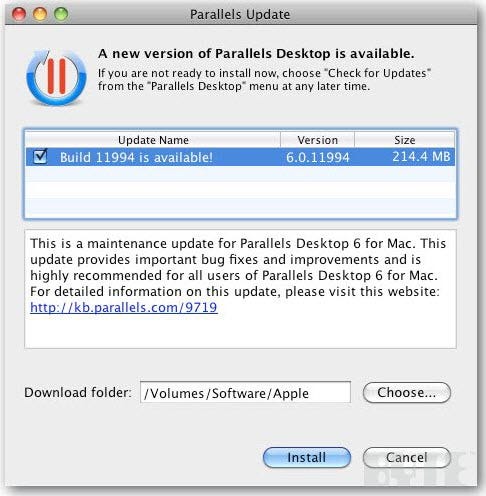
Check for the latest updates. Click on Parallels Desktop >> Check for updates.

Then install the latest build.
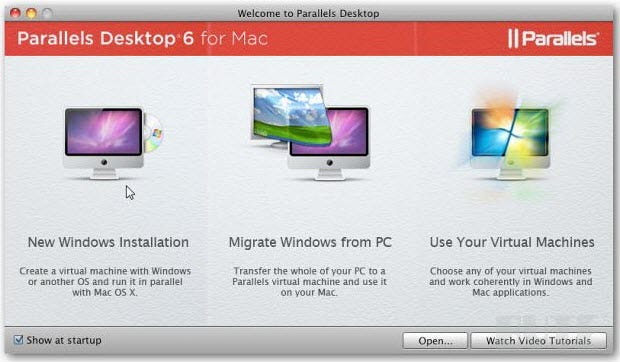
Once installation is complete, it's time to set up Windows 7 in the VM. From the start screen below, click on New Windows Installation.
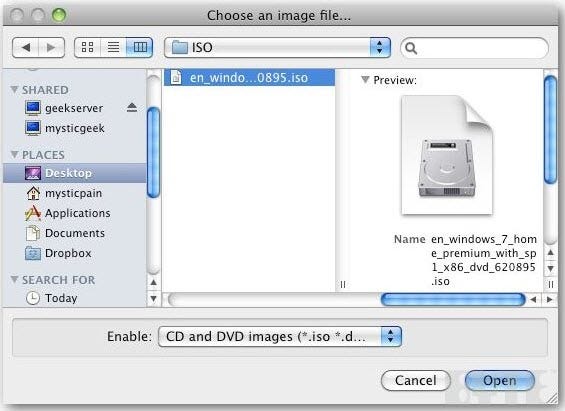
Next, Parallels will prompt you to pop in your Win7 disc, an ISO image, or continue building the virtual machine and install Windows later.
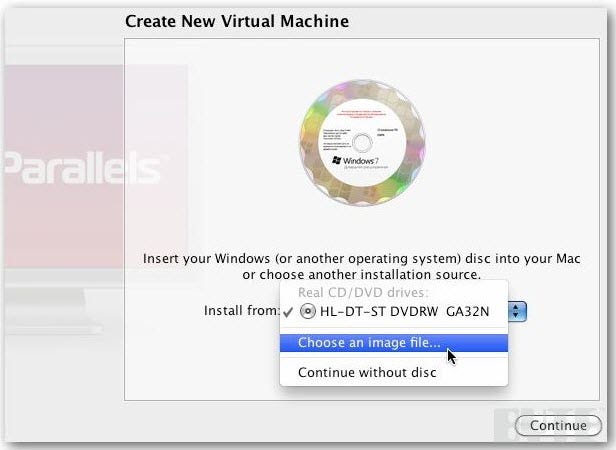
Here I'm using an ISO image downloaded from Microsoft Technet. Browse to the location of your ISO image file and load it up.
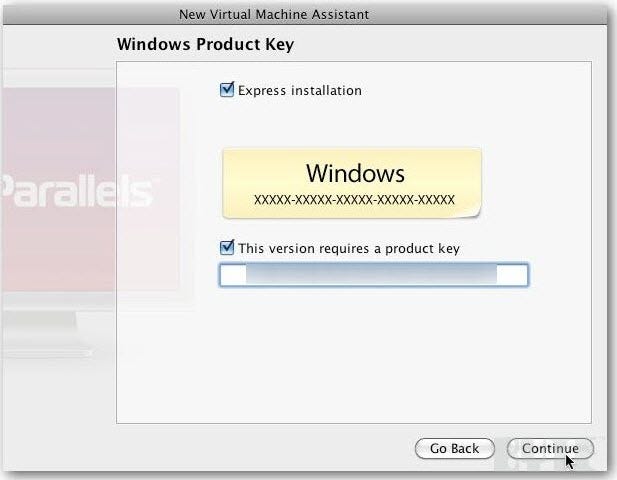
It's easiest to check Express Installation. Enter in the product key. Click Continue.
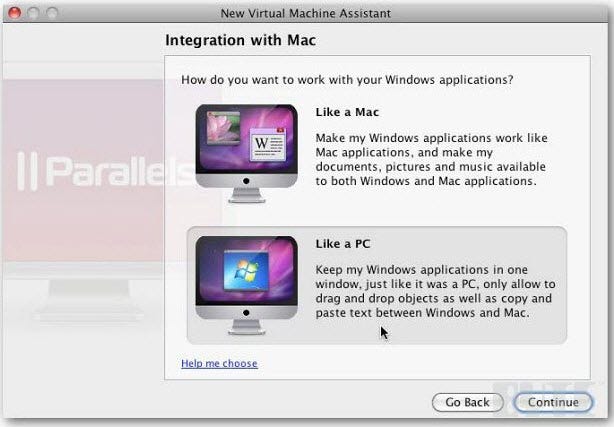
Now select to make Windows apps work like Mac apps, or keep Windows apps in one VM as though it were a separate PC. I select like a PC so it works like an individual machine on my home network with a separate IP address.
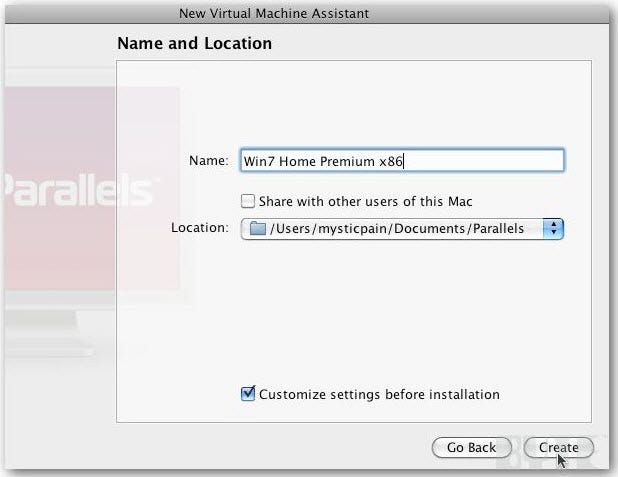
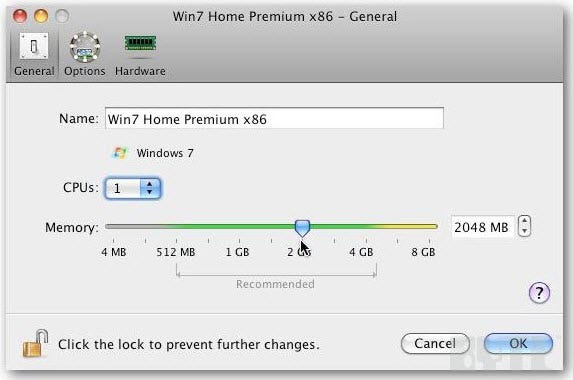
Name the VM, and check Customize Settings Before Installation before installing Windows.
Set up the VM’s hardware specs. Under General, an important setting is the amount of RAM. The VM is using your Mac's hardware so be vigilant. Here I’m selecting 2GB of RAM because my Mac has a total of 8GB. My rule of thumb is to allocate a quarter of total system resources to the VM so overall system performance is fluid.
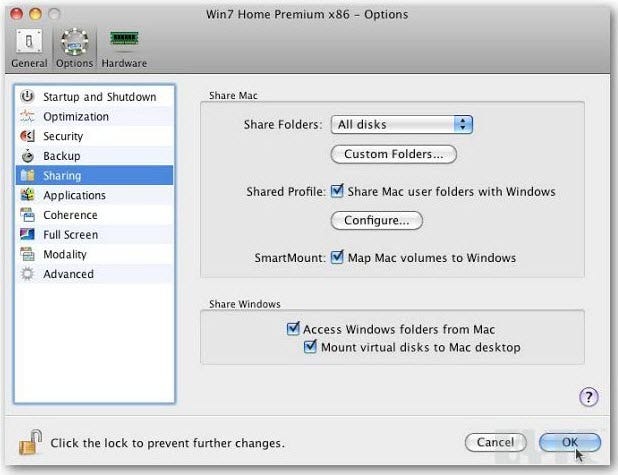
Under Options, select to share folders and profiles and other options. Definitely accept the default to Access Windows folders from the Mac. Change other settings later.
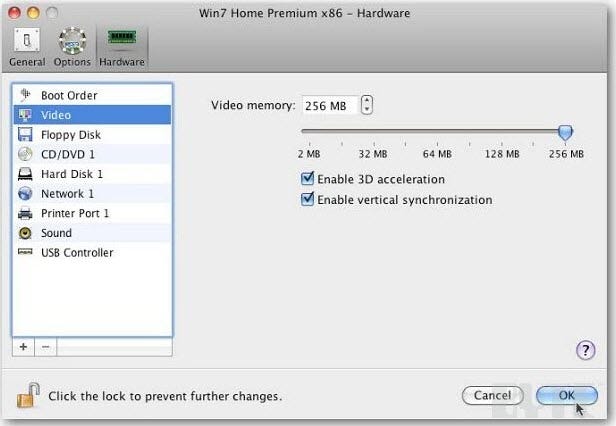
Under Hardware, select boot order, hard disk size, network, sound, etc. When finished, click OK.
NOTE: If you want to run Aero fluidly, max out the Video Memory and enable 3D Acceleration.
After making your selections, start the install of Windows 7.
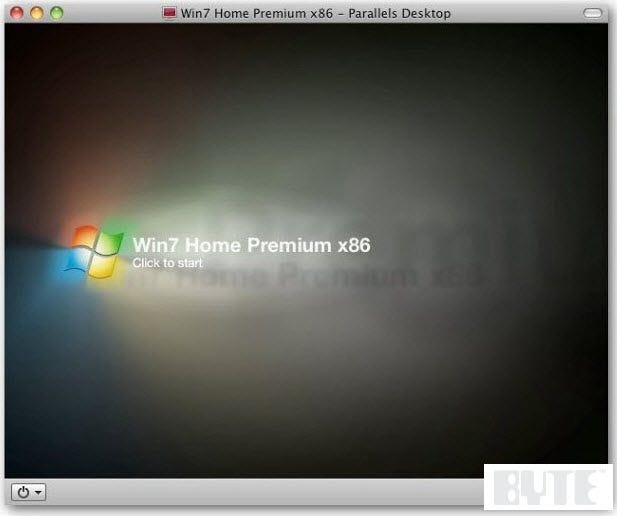
At the bottom of the VM screen, you’ll see a message that Parallels Tools are not installed. Ignore that because an Express Install will automatically install them anyway.
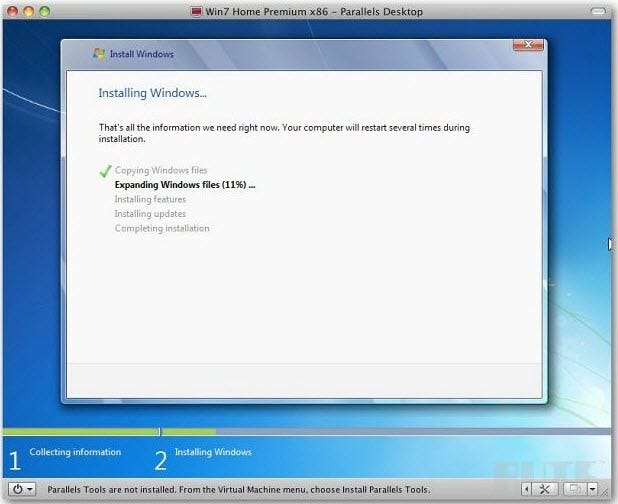
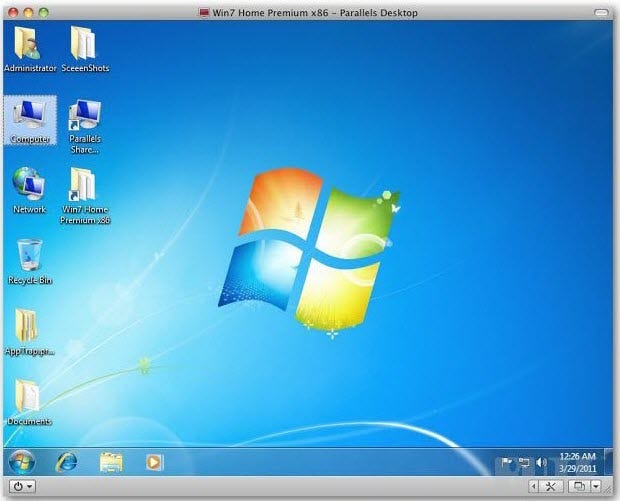
The VM will restart a few times during the install. Keep your eye on it for potential glitches during the process. When complete, your screen should look something like this.
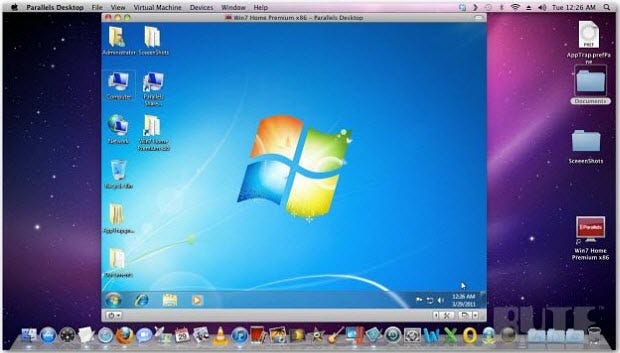
Here is how OS X with Parallels will display your Windows VM on screen.
Now set it up exactly like it’s a real Windows 7 machine. That means installing updates and your favorite programs. Arrange everything how you want and start using Windows 7 on your Mac.
Brian Burgess is executive editor for BYTE. Follow him @mysticgeek. Got a comment or idea? Send it to him at [email protected].
About the Author
You May Also Like
More Insights