Never Miss a Beat: Get a snapshot of the issues affecting the IT industry straight to your inbox.
How To Add A PC To Your Windows Home Server Setup
Once you've set up your Windows Home Server, it's time to connect the rest of your PCs.
3 Min Read

BYTE -- First install the Windows Home Server (WHS) Console on the PC you're adding. The easiest way to do it is via the network. Type in the complete address or your home server in your web browser -- for best results use Internet Explorer. Mine is called hpstorage -- so I typed: http://hpstorage:55000
NOTE: Remember to include the http:// in the browser address bar or it won’t find the server on your local network.
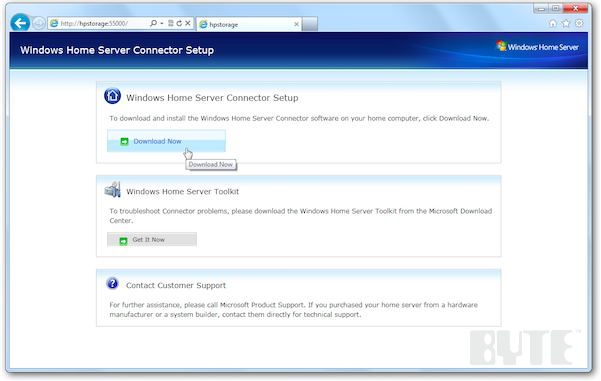
The following WHS setup page will be displayed. Click Download Now.
Then click Run to kick off the WHSConnectorInstall.exe file.
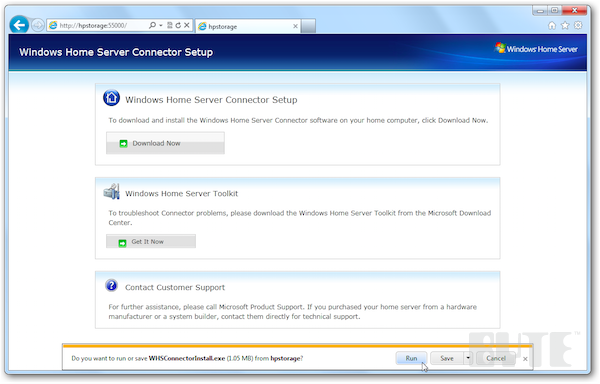
You also have the option to download and save it for installation later.
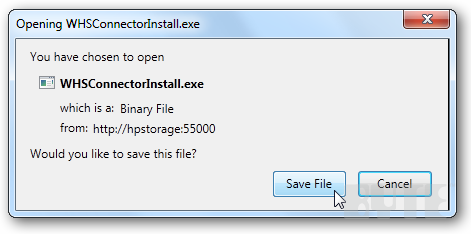
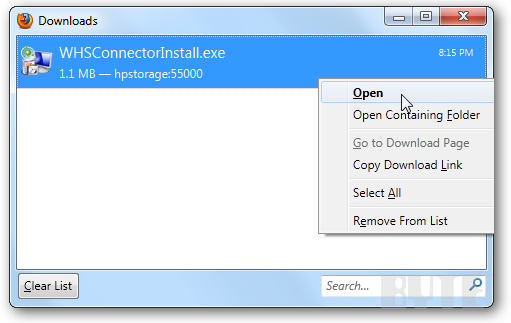
If you had to save it to your Downloads folder, right click to Open and double-click the file WHSConnectorInstall.exe.
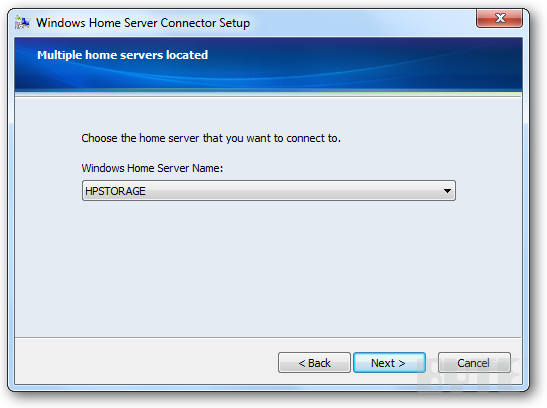
In either case, whether you downloaded it or ran it, WHS Connector Setup will start and locate your WHS. Select the correct server from the dropdown list. I’m selecting mine, which I called HPSTORAGE.
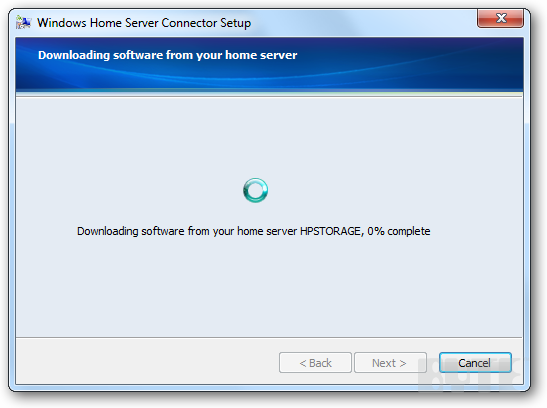
The Connector Setup Program will download additional files needed to get the WHS Console on the new PC you've added.
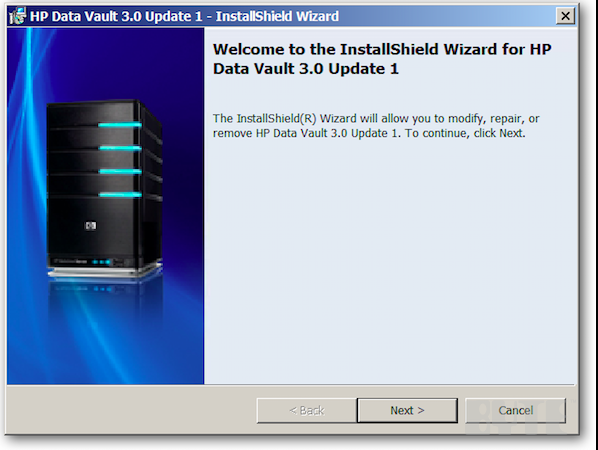
The WHS Connector install results will look different depending on the WHS server you purchased or built. My screen shows Hewlett-Packard's Data Vault. Click Next.
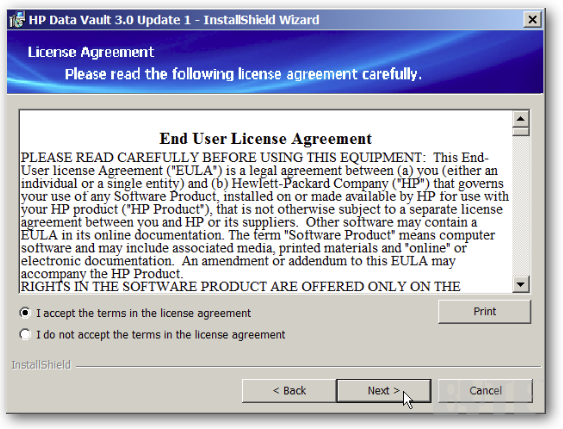
Read and accept the End User License Agreement (EULA). To continue, click to indicated you accept. And click Next.
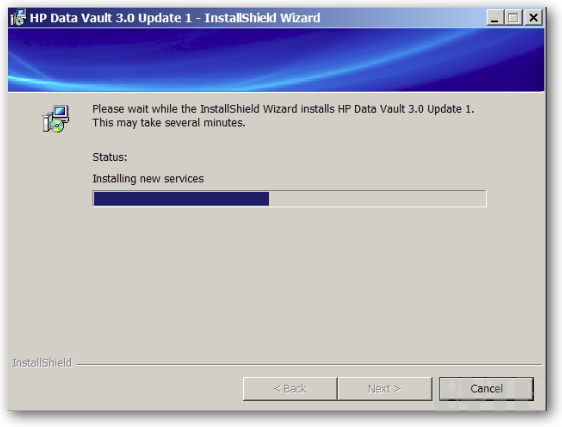
The installation will continue. It shouldn't take more than a couple of minutes.
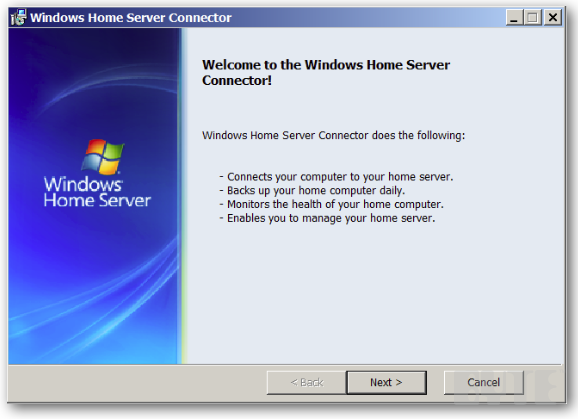
The WHS Home Server Setup now will start. Click Next.
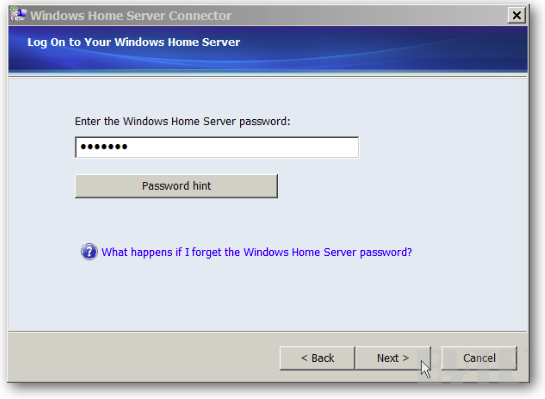
Now type in the administrator password you set up for your WHS server. If you can't remember the password, get help via the hint button. Enter the password and click Next.
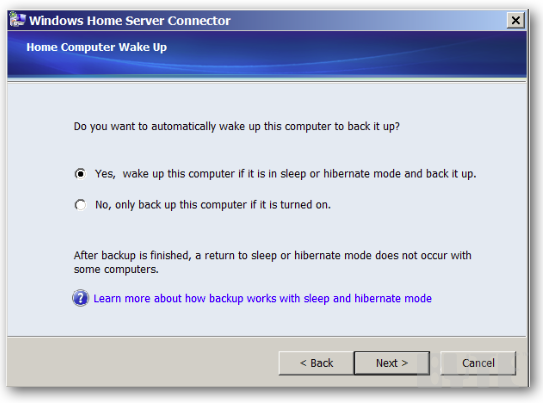
The next screen will ask you if you want WHS to wake up this PC for regularly scheduled backups. I recommend you click the first option to say Yes. Then click Next.
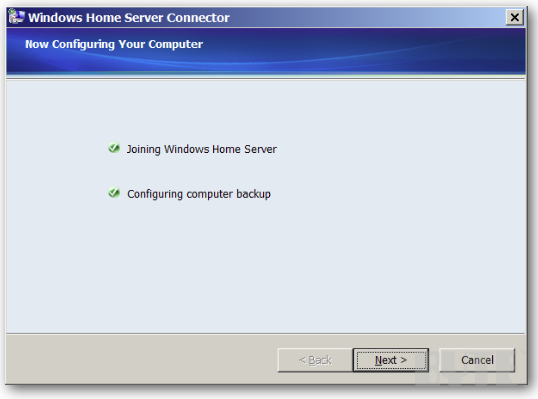
The setup will continue by adding the PC to the server and configuring its backup option. Once complete, click Next.
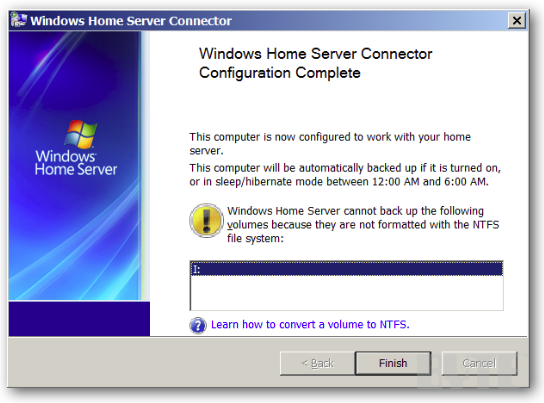
This last screen will let you know setup is complete and summarize the backup option you chose. WHS will notify you if have any hard drives installed that aren't compatible with WHS, such as an external drive or even an internal drive formatted with a file system that isn't from a recent Microsoft OS with the file system NTSF. To complete the setup, hit Finish.
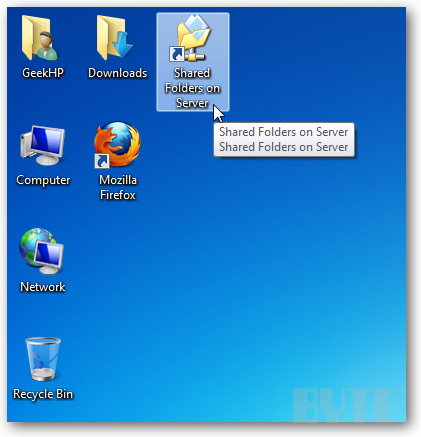
Now the setup will exit and place a new icon on your desktop. That is a shortcut icon to all the shared folders on your WHS Server.
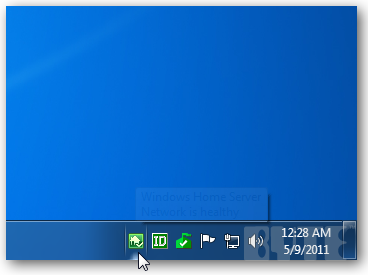
You'll also find the icon in your Windows tray.
Now that you know how to add one to PC to your WHS server, you can start adding more – up to a total of 10. Enjoy!
Based in Helenville, WI, David McCabe is a senior contributor at BYTE. Follow him @homeservershow. or email him at [email protected].
About the Author
You May Also Like
More Insights