Never Miss a Beat: Get a snapshot of the issues affecting the IT industry straight to your inbox.
How To Get Color Right In Your Video
Getting colors in video to look right is tricky. You will do better if you white balance the shot before you begin.
7 Min Read

Digital cameras have made creating sophisticated video content easy and relatively inexpensive. Getting the lighting right, however, can be a challenge when there is either too much or too little light on the set. Although many problems can be fixed in post production, there are simple on-set techniques that can greatly reduce your post-production work.
The easiest way to save post-production time is to white balance before each shot. White balancing is simply telling the camera what color white is. This enables it to understand how to properly record the intensity of other colors under your lighting conditions.
First, it's a good idea to use the same camera--or multiple cameras of the same model--for all your shots. This is vital unless you'd like your movie to look like it was shot under radically varying conditions.
Another good idea is to use a custom white balance. With most cameras, you should get a custom white balance before each new camera angle, or if the lighting conditions change drastically from one take to the next.

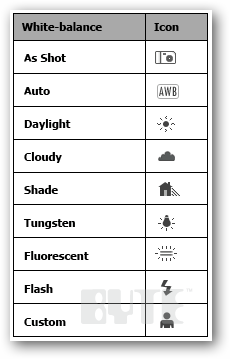
White balance works slightly differently on each camera, so be sure to consult the camera's manual for a white balance setting. Most cameras have several settings that attempt to perform white balance automatically, plus a method for setting the white balance yourself. The latter usually appears as "Custom WB" or something similar. That'll be the one you want.
If your camera doesn't have a custom white balance setting, it should at least have a number of auto-balance presets. Select the one that most closely resembles your lighting conditions.
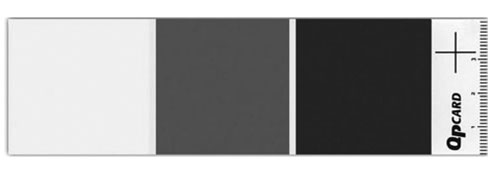
You'll need a set of white balance cards, although it's not necessary to spend $50 on them. You can get a set for between $10 and $20 that will work just fine. I recommend the QPcard 101 calibration cards, which run about $14. If you can't afford to buy cards, you can make your own out of some matte white, gray, and black construction paper.
Mount the cards on a slate or something else that's stable. Include the cards in every shot.
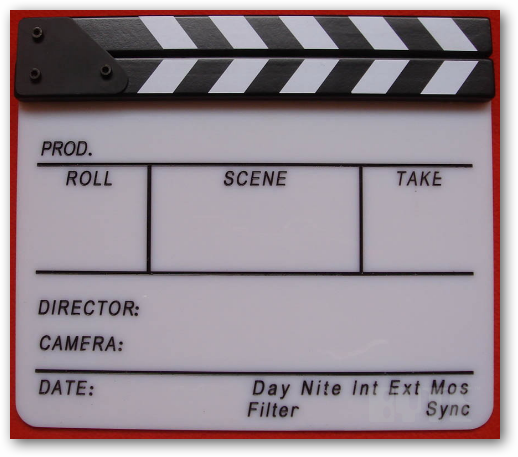
To white balance the camera, get a friend or a production assistant to hold the balance cards. Zoom in on the white card until it fills as much of the frame as possible. Focus and press the "custom" balance button. Wait for the camera to balance.
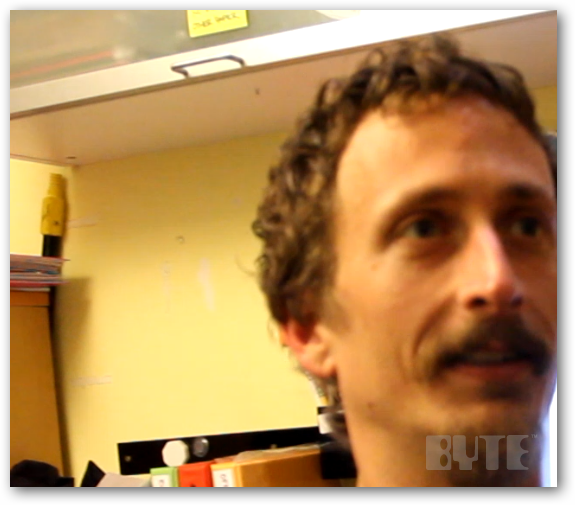
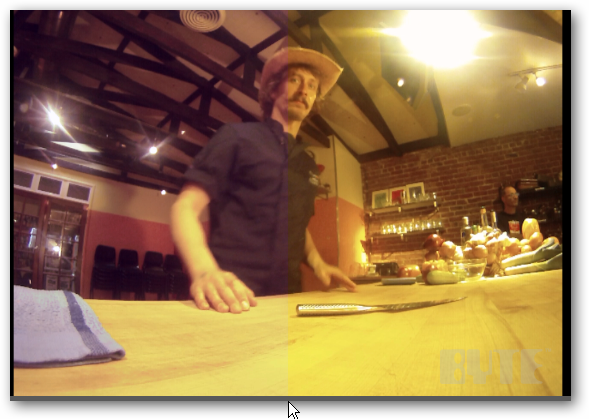
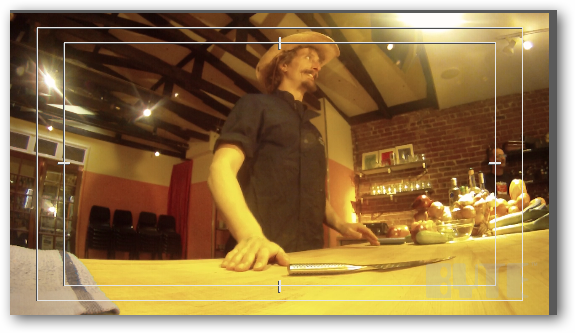
Note the lighting on the wall in the example below, which is not yet balanced.
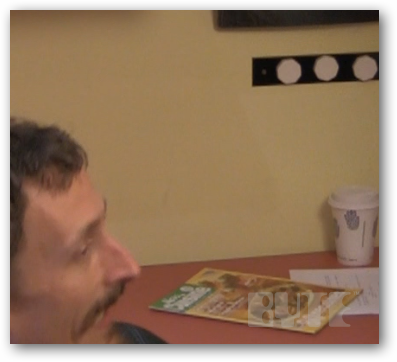
In the frame below, the lighting is balanced. Note the difference in the color of the lighting on the wall.
After you've finished shooting, import your footage into your editing software. For this how-to we're using Adobe Premiere Pro, so the exact sequence of steps might vary if you're using a different program.
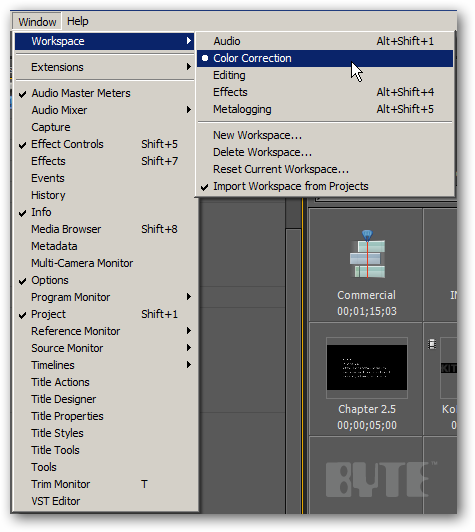
Once you've finished editing, you'll want to set the workspace to color correction. You can do that by pressing Shift-f12 or by selecting Window >> Workspace >> Color Correction.
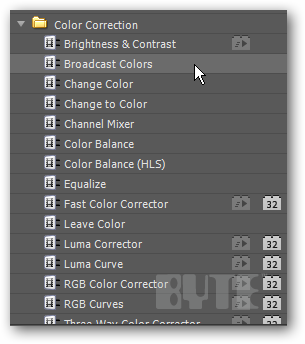
Drag the Three-Way Color Corrector selection from the Video Effects >> Color Correction menu onto the clip you'd like to correct.

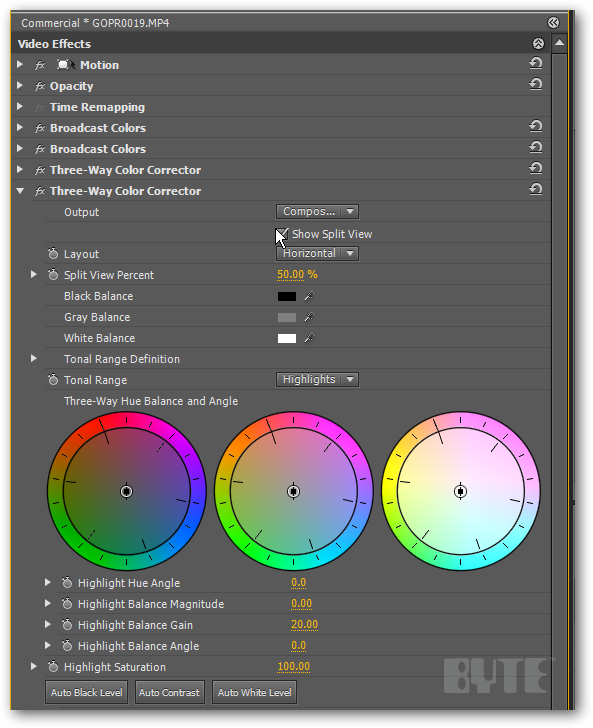
Go to the Effects control for the clip you're working on, expand the Three-Way Color Corrector selection, and check Show Split View.
If you used white, gray, and black balance cards on set, it will be easy to balance your footage. Move the footage to a point where you can see the balance cards.
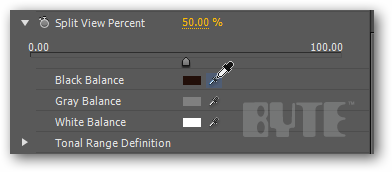
Select the black balance eye dropper and click the black balance card in the frame. Repeat for the gray and white cards.

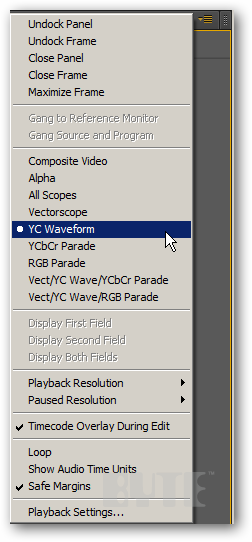
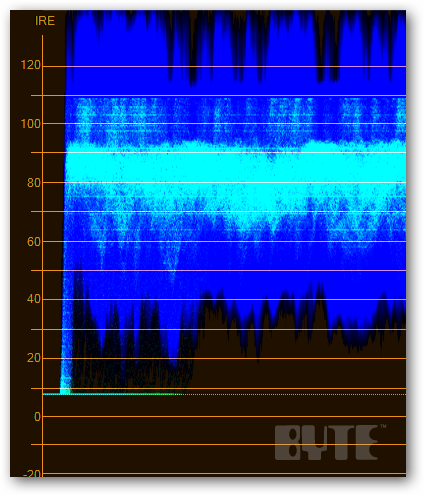
Choose Monitor >> YC Waveform to look at the waveform.
Anything that's above 100 or below 0 isn't considered broadcast safe. Although the rise of YouTube is changing that, it's still a good idea to use the standards as a guide.
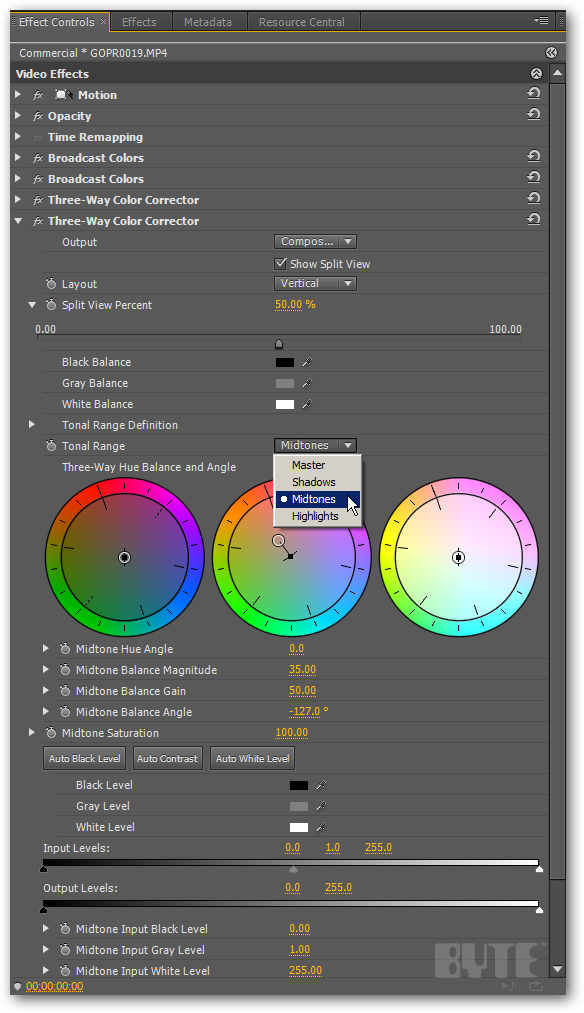
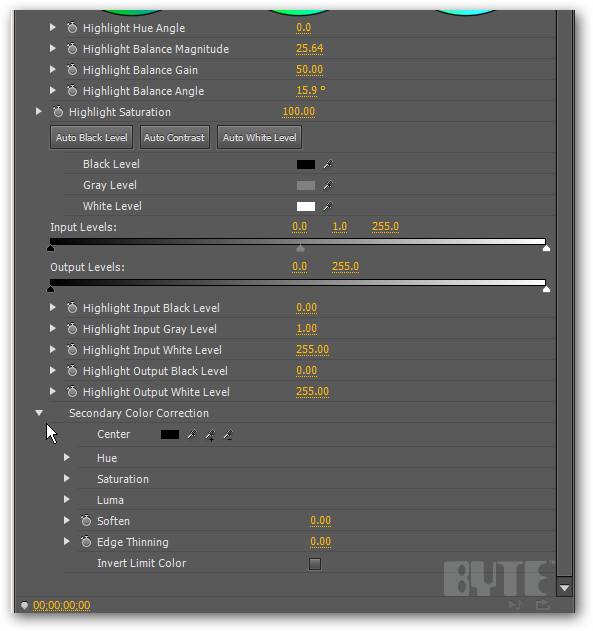
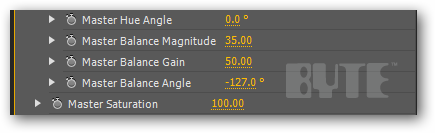
Adobe recommends setting the Balance Magnitude to 35, the Balance Gain to 50, and the Balance Angle to -127. Sometimes the changes can be quite subtle, especially if the footage was balanced when shooting.
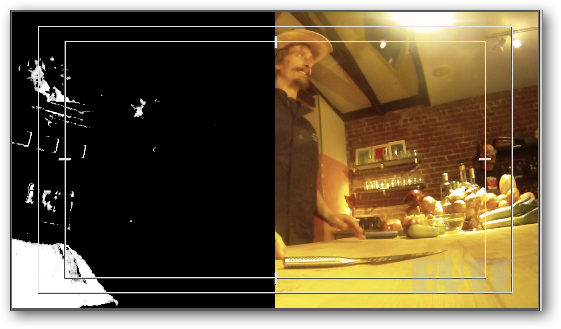
Look at the difference in the shot below. It's subtle, but when you compare the left half of the shot to the right half, you can see that the yellows got reduced quite a bit.
Next, we'll want to do some secondary color correction. One thing that's really helpful is balancing or changing specific areas of a shot. We can do that with a mask. For example, let's use a mask to reduce the amount of blue in the bar towel.
First, select Mask.

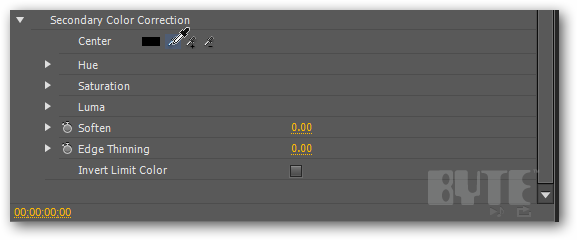
Then expand the Secondary Color Correction submenu.
Select the eyedropper tool and click the area on the monitor you'd like to change.
The resulting mask should look something like this.
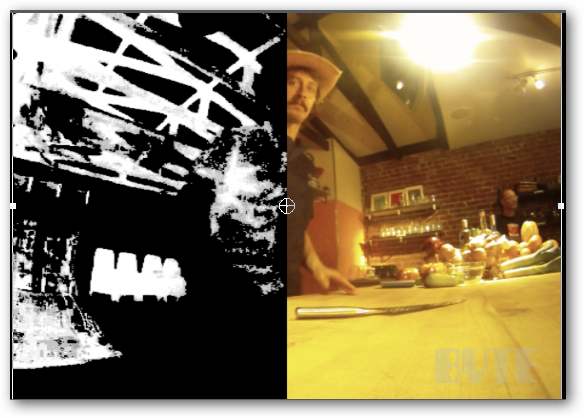
Because we're trying to change the towel's color, click the Add dropper right next to the first tool, then add areas on the towel until it's more completely white. If you make a mistake and add something that highlights too much of the frame, click the minus tool and remove the selection.
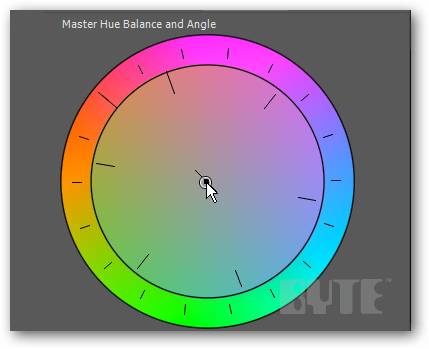
Now, set the tonal range to Master and click and drag the Master Hue Balance and Angle toward the bluish section of the hue and balance wheel. Play around with it a bit, and notice how the color of the towel changes slightly.
Or, simply enter Adobe's recommended settings below the color wheel.
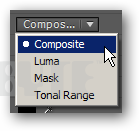
Set the output to Composite to turn the mask off and see the results.
This is our result using Adobe's recommended settings.
I recommend experimenting with the various settings to achieve the look you want, but always make sure to check the wave forms for broadcast safety.
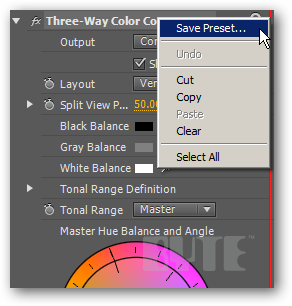
Before you finish, you should save a preset for your color correction settings. Right-click on the three-way color corrector in the effects controls and select Save Preset.
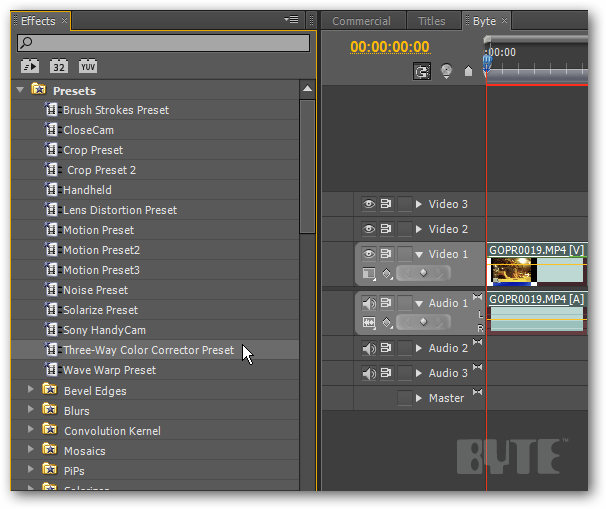
Now you can drag the color settings onto all the clips you'd like to have those color effects.
The last step for any color correction is simple in Premiere Pro. Simply drag Broadcast Colors from the Effects menu onto your clips. That will ensure your movie will be viewable on a television set.
About the Author
You May Also Like
More Insights